Let's start with creating folder with our assets, and hook it up to a git repo in azure devops.
to get started open up your command line and create a directory called pav-content-cdn, then initiate a git repo, and finally connect it to your azure deveops repo.
follow the following:
- Open your command terminal.
- Create a directory: mkdir pav-content-cdn
- Navigate into that directory: cd pav-content-cdn
- Initialize a git repo: git init
- Open your project in code: code .

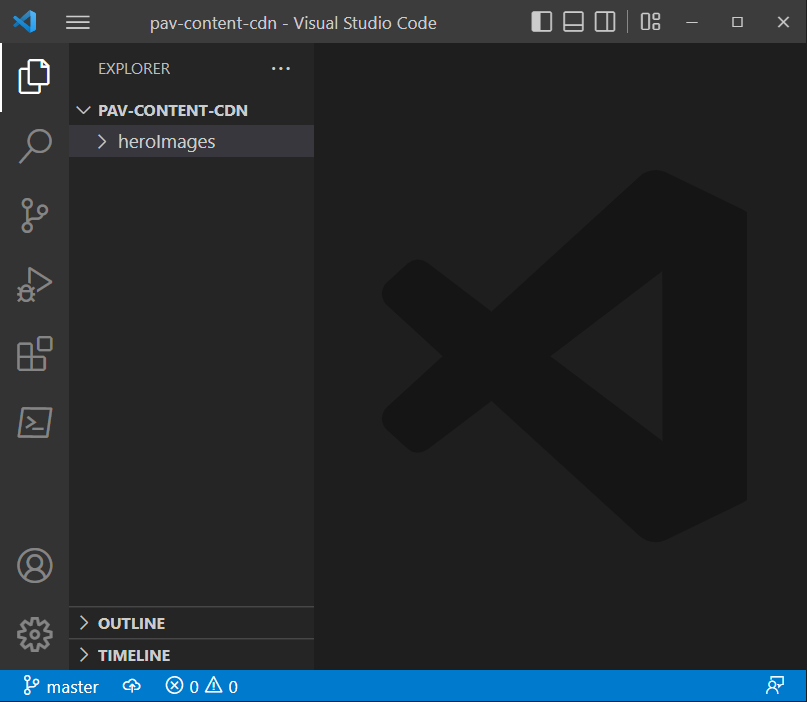
Nothing special, just a very simple one folder structure, with nothing in it, next go to
and download some hi-res images into your heroImages folder, you should have something like the following.

Very simple, just a few images added to a heroImages folder.
At the root of your project add a PowerShell Script called AzureInfrastructure.ps1, just leave it blank for now, in a future post we are going to create a powershell scrip that is going to provision all of our azure cloud resources to host our hero images.

Next step is to create a project in azure devops Azure DevOps Services | Microsoft Azure
If you don't have an account, you'll need to make one, With our Azure devops portal open click the "New Project" in the upper right corner

Next you'll see the "Create new project" modal, fill in your details, and under advanced select Git version control and it doesn't really matter what you choose for "Work item process", however unlike me, don't put two .. next to each other in your project name.

Once you click the "Create" button it should take a minute or so to set up your project environment.
With your project set up, let's configure a cloud repo for your project.

With the repo initialized take note of the second set of commands, the ones that lets you push your repo up to your Devops site.

In either your Windows terminal or right within code we are going to commit your code and push it to your repo, follow these steps
- Add all of your code to your branch: git add .
- Commit your your branch with a comment: git commit -m 'initi project'
- Set your project origin to your Devops repo: git remote add origin https://PawelCiucias@dev.azure.com/PawelCiucias/pav.content.cdn/_git/pav.content.cdn
- Push your project: git push -u origin --all
your terminal should look like the following.

I've put in green arrows for all of the commands you have to input. just and FYI at some point your azure devops environment, may ask for you to authenticate before pushing.
One final check that you can do is go to your repos in your devops Portal and confirm that your code has in fact been pushed to your online repo, click the orange button on your devops portal

You should see your source code pushed to your Azure devops online repository.

That's it for part 1, we created a local project, initialized git and pushed it up to Azure devops.